by RMG Plumbing | Feb 19, 2025 | Plumbing Tips & Tricks
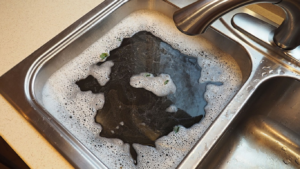
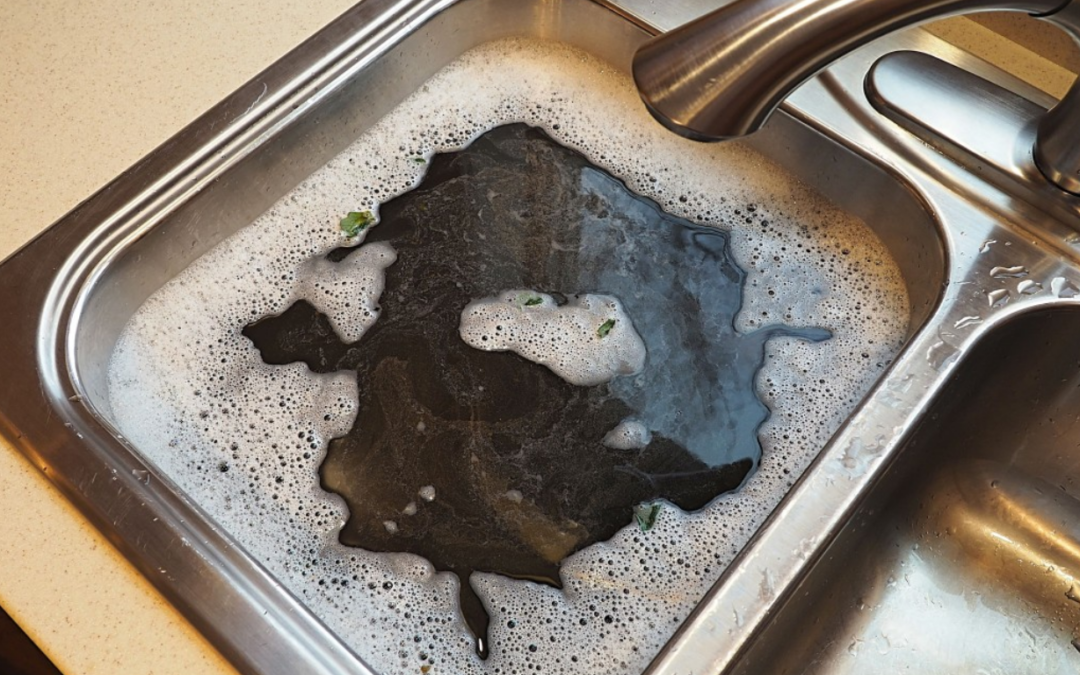
A clogged sink can be a frustrating household problem, causing water to drain slowly or not at all. Whether it’s a bathroom or kitchen sink, clogs are usually caused by grease, soap scum, food debris, or hair buildup. The good news is that most clogs can be fixed without calling a plumber using simple tools and techniques. In this guide, you’ll learn how to fix a clogged sink step by step, using both natural and mechanical methods. Follow these tips to get your sink draining properly again.
Common Causes of a Clogged Sink
Before jumping into the solutions, understanding the most common causes of sink clogs can help prevent future blockages.
1. Kitchen Sink Clogs
- Food debris: Leftover food particles, especially coffee grounds and eggshells, can build up in pipes.
- Grease and oil: Cooking fats harden in pipes, restricting water flow.
- Soap scum: When combined with minerals in hard water, soap scum creates stubborn clogs.
2. Bathroom Sink Clogs
- Hair: The leading cause of bathroom sink clogs, often mixed with soap residue.
- Soap and toothpaste residue: Thick, sticky toothpaste and soap deposits accumulate over time.
- Foreign objects: Jewelry, cotton swabs, or small caps can accidentally enter the drain.
Now that you know what causes the problem, let’s go through the best ways to fix a clogged sink.
Step-by-Step Guide to Fix a Clogged Sink
Step 1: Remove Visible Debris from the Drain
Before using any tools or solutions, check if the blockage is caused by visible debris.
- Remove the sink stopper or drain cover.
- Use a flashlight to look inside the drain for any visible blockage.
- Wear gloves and remove any accumulated gunk or hair using your fingers or tweezers.
If the sink is still clogged, proceed to the next steps.
Step 2: Use Boiling Water to Dissolve the Clog
Boiling water is a simple and effective way to clear minor clogs caused by grease or soap residue.
- Bring a full pot of water to a rolling boil.
- Carefully pour the hot water down the drain in two or three stages.
- Wait a few minutes and test if the water drains properly.
If boiling water doesn’t fix the clogged sink, move to the next method.
Step 3: Try a Baking Soda and Vinegar Solution
This natural solution can help break down grease, soap scum, and small blockages.
- Pour ½ cup of baking soda into the drain.
- Add 1 cup of white vinegar immediately after.
- Let the mixture fizz and sit for 15 to 20 minutes to break down the clog.
- Flush the drain with hot water.
This method is environmentally friendly and safe for pipes, making it an excellent alternative to chemical drain cleaners.
Step 4: Use a Plunger
A plunger can create suction to dislodge stubborn clogs deep in the pipes.
- Fill the sink with enough water to cover the plunger’s rubber cup.
- Place the plunger over the drain, ensuring a tight seal.
- Plunge up and down vigorously for about 30 seconds.
- Remove the plunger and check if the water drains.
Repeat a few times if necessary until the clog is cleared.
Step 5: Use a Drain Snake or Wire Hanger
A drain snake (plumber’s auger) or an unfolded wire hanger can remove deep clogs.
- Insert the drain snake into the sink drain.
- Rotate the handle and push the snake further down to break up the clog.
- Pull out the snake slowly to remove debris.
- Run hot water to flush out any remaining residue.
This method is highly effective for hair or solid obstructions.
Step 6: Clean the P-Trap
The P-trap is the curved pipe under the sink that traps debris before it reaches the main plumbing system.
- Place a bucket under the P-trap to catch any water.
- Use a wrench to unscrew the P-trap.
- Remove any trapped gunk and rinse the pipe with hot water.
- Reattach the P-trap and test the drain.
Cleaning the P-trap should resolve persistent clogs that other methods fail to fix.
When to Call a Plumber
If you have tried all these methods and the sink is still clogged, it may be time to call a professional plumber.
Signs that indicate a more serious plumbing issue include:
- Multiple drains in your home are clogged.
- Water backs up into other fixtures (e.g., toilet or bathtub).
- There is a foul smell coming from the drain.
- The clog returns quickly after being cleared.
A plumber can inspect for deep pipe blockages, tree root intrusion, or pipe damage.
Preventing Future Sink Clogs
To avoid dealing with a clogged sink in the future, follow these prevention tips:
✔ Use a drain cover or strainer to catch food particles and hair.
✔ Never pour grease or oil down the drain—dispose of it in a container.
✔ Run hot water after each use to prevent buildup.
✔ Use baking soda and vinegar monthly as a preventive cleaning method.
✔ Avoid flushing coffee grounds, eggshells, or fibrous foods down the sink.
By following these simple habits, you can keep your sink clog-free and prevent costly plumbing repairs.
Final Thoughts
A clogged sink is a common issue, but most blockages can be fixed using simple DIY methods. Whether you use boiling water, a plunger, a drain snake, or a baking soda solution, these steps can help you fix a clogged sink quickly and effectively.
For severe blockages or recurring problems, professional help may be necessary. However, with regular maintenance and good habits, you can keep your sink draining smoothly and avoid future plumbing headaches.
by RMG Plumbing | Feb 13, 2025 | Plumbing Tips & Tricks, Water Quality
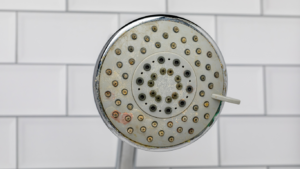
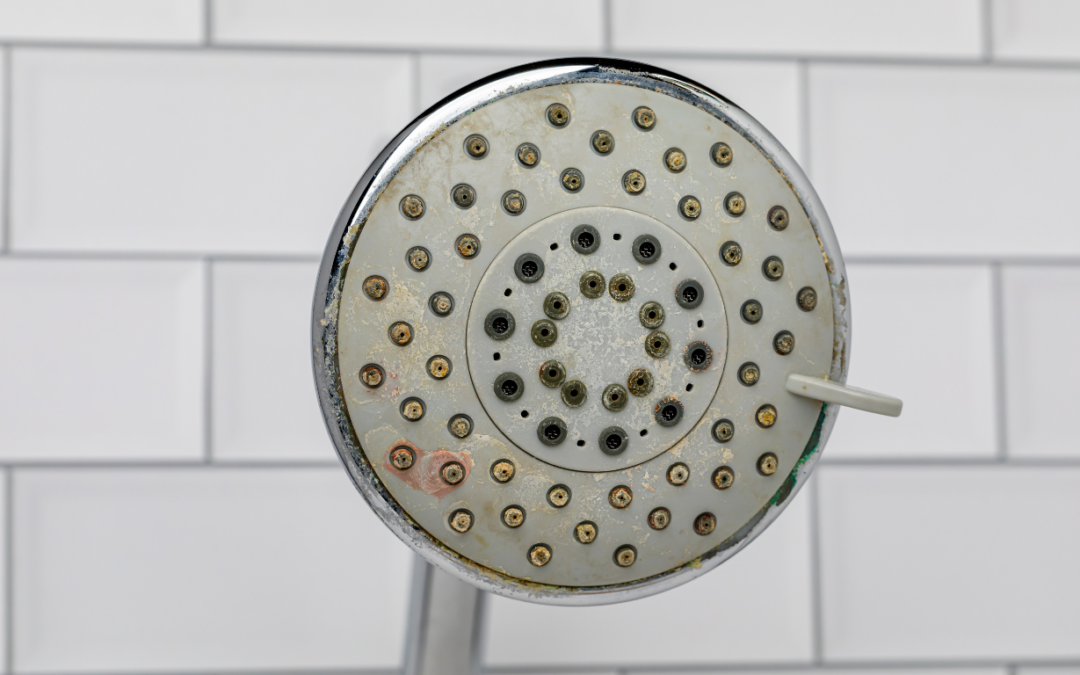
A clogged shower head can significantly reduce water pressure, making showers less effective and frustrating. Over time, mineral deposits, mold, and bacteria can accumulate, blocking the nozzles and restricting water flow. Regular cleaning ensures your shower head functions efficiently and extends its lifespan. Follow these shower head cleaning tips.
This guide provides detailed shower head cleaning tips, including step-by-step methods to remove buildup and maintain a steady water flow.
Why Cleaning Your Shower Head is Important
Shower heads accumulate hard water deposits, bacteria, and mold, which can:
- Reduce water pressure and flow
- Cause uneven water distribution
- Promote bacterial growth, such as Legionella
- Shorten the lifespan of the shower head
Regular cleaning restores performance, prevents health hazards, and helps avoid costly replacements.
Signs Your Shower Head Needs Cleaning
If your shower head is not performing as expected, look for these signs:
- Low water pressure or weak water flow
- Water spraying in different directions
- White or green deposits on the nozzles
- Mold or a musty odor around the shower head
If any of these issues are present, it is time to clean the shower head thoroughly.
Effective Shower Head Cleaning Tips
There are several ways to clean a shower head, depending on the level of buildup. Below are the most effective methods to restore water flow and remove mineral deposits.
1. Vinegar Soak for Deep Cleaning
Best for: Hard water deposits and mineral buildup
What You Need:
- White vinegar
- Plastic bag
- Rubber band or twist tie
- Soft brush or toothbrush
Steps:
- Fill a plastic bag with enough white vinegar to fully submerge the shower head nozzles.
- Attach the bag to the shower head and secure it with a rubber band or twist tie.
- Let it soak for at least one to two hours. For heavy buildup, leave it overnight.
- Remove the bag and scrub the nozzles using a toothbrush or soft brush.
- Run hot water through the shower head to flush out any remaining residue.
For detachable shower heads, soak them in a bowl of vinegar for better results.
2. Baking Soda Paste for Stubborn Stains
Best for: Stubborn grime and discoloration
What You Need:
- Baking soda
- Water
- Toothbrush
Steps:
- Mix baking soda with water to create a thick paste.
- Apply the paste to the shower head, focusing on the nozzles.
- Let it sit for 15 minutes.
- Scrub with a toothbrush to remove buildup.
- Rinse thoroughly with warm water.
This method is effective for breaking down mineral deposits and polishing the surface of the shower head.
3. Lemon Juice for a Natural Clean
Best for: Light buildup and maintaining cleanliness
What You Need:
Steps:
- Cut a lemon in half and rub it directly onto the shower head.
- Squeeze lemon juice into a bowl and soak a cloth in it.
- Wrap the cloth around the shower head and let it sit for 30 minutes.
- Rinse with warm water to remove any residue.
Lemon juice naturally dissolves mineral deposits while leaving a fresh scent.
4. Clearing Clogged Nozzles with a Toothpick or Needle
Best for: Manually removing buildup from clogged nozzles
What You Need:
- Toothpick or needle
- Soft cloth
- Warm water
Steps:
- Use a toothpick or small needle to gently poke through the clogged nozzles.
- Run hot water through the shower head to flush out loosened debris.
- Wipe the surface clean with a soft cloth.
This method is most effective when used after soaking the shower head in vinegar.
How Often Should You Clean Your Shower Head?
To maintain water flow and prevent buildup, follow this cleaning schedule:
- Light cleaning: Wipe down the shower head once a month with vinegar or lemon juice.
- Deep cleaning: Soak in vinegar every three to six months.
- Hard water areas: Clean every one to two months to prevent mineral accumulation.
Regular maintenance helps prevent major clogs and ensures consistent water pressure.
Preventing Future Buildup
To keep your shower head clean and reduce mineral deposits, follow these preventive measures:
- Install a water softener to reduce hard water minerals.
- Wipe down the shower head after each use to prevent buildup.
- Use a filtered shower head to minimize chlorine and mineral deposits.
- Run hot water weekly to flush out debris and bacteria.
These small adjustments can extend the life of your shower head and reduce the need for deep cleaning.
When to Replace Your Shower Head
Even with regular maintenance, shower heads eventually wear out. Consider replacing your shower head if:
- Water pressure remains low despite multiple cleanings
- Mold or bacteria keep recurring
- Cracks or leaks are visible
Most shower heads last six to eight years, but those in areas with hard water may require more frequent replacement.
Final Thoughts…
Cleaning your shower head regularly is essential for maintaining water flow and preventing mineral buildup. By using vinegar soaks, baking soda scrubs, and other simple cleaning techniques, you can keep your shower head in top condition. Regular maintenance will help you enjoy a strong and steady water flow while extending the lifespan of your fixture.
For best results, incorporate these shower head cleaning tips into your routine to prevent clogs and maintain a high-performing shower experience.
– RMG Plumbing
by RMG Plumbing | Feb 1, 2025 | Plumbing Tips & Tricks
Water emergencies can happen at any time, whether due to a burst pipe, a leaking appliance, or plumbing repairs. Knowing how to perform an emergency water shut off can help prevent costly water damage and protect your home.
This guide will walk you through the importance of shutting off your water supply, how to locate the main shut-off valve, and the steps to turn it off safely.
Why You Need to Know How to Shut Off Your Water
Water damage can escalate quickly if left uncontrolled. Here’s why learning how to shut off your main water supply is crucial:
- Prevents flooding from burst pipes or plumbing failures
- Reduces water waste and costly repair bills
- Stops leaks immediately, avoiding damage to walls, floors, and foundations
- Allows safe plumbing repairs without water flowing unexpectedly
Every homeowner or renter should know where their main water shut-off valve is located and how to operate it in case of an emergency.
Where to Find Your Emergency Shut-Off Valve
The location of your main water shut-off valve depends on your home’s construction and region. Below are the most common places to check.
1. Inside Your Home (Near the Water Line Entry Point)
Most homes have the main shut-off valve inside where the water supply enters the house. Look in:
- Basements or crawl spaces (near the front wall)
- Near the water heater or furnace
2. Outside the Home (Near the Property Line)
If you don’t find the shut-off valve inside, check outside. Look for:
- A buried water meter box near the sidewalk or street
- A round or rectangular cover labeled “water”
- A valve inside the meter box, typically requiring a wrench
3. Apartment or Condo Buildings
In multi-unit buildings, each unit may have its own shut-off valve, or there may be a shared one controlled by maintenance staff. Check under the kitchen sink, near the water heater, or in a common utility area.
If you are renting, ask your landlord or property manager where the main water shut-off is located.
How to Turn Off the Main Water Supply
Once you locate the main shut-off valve, follow these steps to shut off the water supply safely and effectively.
Step 1: Identify the Type of Shut-Off Valve
There are two main types of shut-off valves:
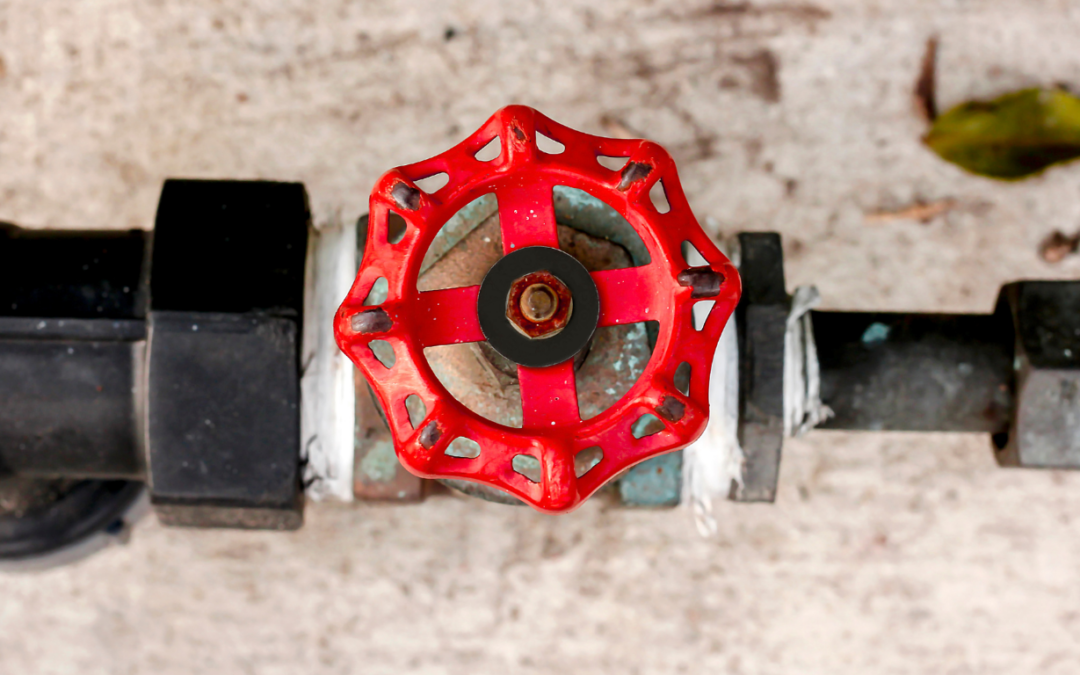
- Gate Valve: A round, wheel-shaped handle that needs to be turned several times clockwise to shut off the water.
- Ball Valve: A lever-style handle that requires a quarter-turn (90 degrees) to shut off the water.
Step 2: Turn the Valve to Shut Off Water
- For a Gate Valve: Turn the handle clockwise (right) until it stops. Avoid forcing it, as old valves may be stiff.
- For a Ball Valve: Turn the lever perpendicular (90 degrees) to the pipe to stop the flow.
Step 3: Release Pressure in the Pipes
After shutting off the water, release any remaining water pressure by:
- Turning on a faucet at the lowest point in your home (such as an outdoor hose bib or basement sink)
- Flushing toilets to drain excess water
This step prevents pressure buildup and ensures the pipes are empty.
Emergency Shut-Off for Specific Fixtures
In some cases, you may not need to turn off the main water supply. Instead, use these fixture-specific shut-off valves to control the problem area.
1. Sink or Faucet Shut-Off
- Look under the sink for two small shut-off valves (one for hot water, one for cold).
- Turn them clockwise to stop the flow.
2. Toilet Shut-Off
- Locate the small valve on the wall behind or under the toilet.
- Turn the handle clockwise to stop water from filling the tank.
3. Water Heater Shut-Off
- Turn off the cold-water supply valve (usually located above the heater).
- If there’s a leak, turn off the power or gas to prevent damage.
Knowing how to shut off water to individual fixtures can help minimize disruption when making small repairs.
What to Do After Shutting Off the Emergency Shut Off Valve
After shutting off the water supply, take the following steps:
- Check for leaks and assess the damage.
- Call a plumber if you’re dealing with a major leak or burst pipe.
- Repair or replace faulty fixtures before turning the water back on.
- Slowly turn the water back on to avoid pressure shocks in the plumbing system.
Turning the valve too quickly can cause pipe damage, so it’s best to open it gradually.
How to Prevent Plumbing Emergencies
Preventative maintenance can reduce the risk of emergency water shut-offs. Follow these best practices:
- Inspect pipes regularly for leaks, rust, or corrosion.
- Install a water leak detector to catch leaks early.
- Insulate pipes in cold climates to prevent freezing and bursting.
- Know your shut-off valve location and test it periodically.
- Upgrade old valves to ensure easy operation in an emergency.
Regular plumbing maintenance helps prevent unexpected leaks, pipe bursts, and costly water damage.
When to Call a Professional Plumber
If you are unable to locate or operate your main water shut-off valve, call a professional plumber. A plumber can:
- Help you find and label the shut-off valve for easy identification.
- Replace old or stuck shut-off valves that are difficult to turn.
- Install an automatic water shut-off system for added protection.
A licensed plumber can ensure that your home is prepared for water emergencies and that your shut-off valve is functioning correctly.
Final Thoughts…
Knowing how to perform an emergency water shut off can help you prevent costly water damage, protect your home, and handle plumbing emergencies with confidence. By locating your main shut-off valve, understanding how to operate it, and performing regular maintenance, you can keep your plumbing system in top condition.
For homeowners and renters, learning these emergency procedures is essential for protecting property and avoiding extensive repairs. Take the time to find your water shut-off valve today to ensure you are prepared for any unexpected plumbing issues.
– RMG Plumbing